Cavity wall insulation failure
Cavity wall insulation should cut heat loss and keep walls dry. When it goes wrong you see damp patches, cold spots and flaking finishes. The aim here is to explain types of insulation, common failure signs and what to do next.
Most problems come down to the wrong product for the site, poor install, or water getting into the cavity. A short survey of a few key areas will tell you most of what you need to know. Dry and clear cavities shed water. Wet or bridged cavities drive moisture inside
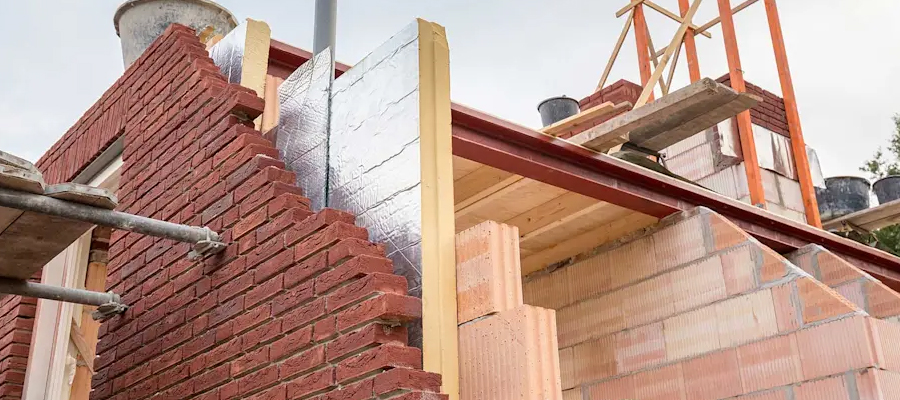
Start with the basics. Confirm the wall is a true cavity, check exposure to wind driven rain, then look for defects that let water in.
Types of cavity wall insulation
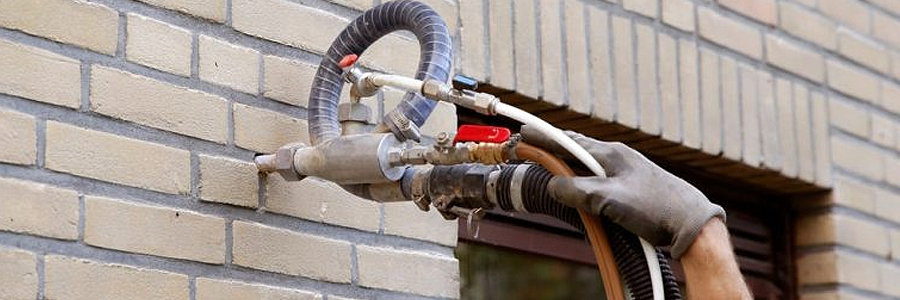
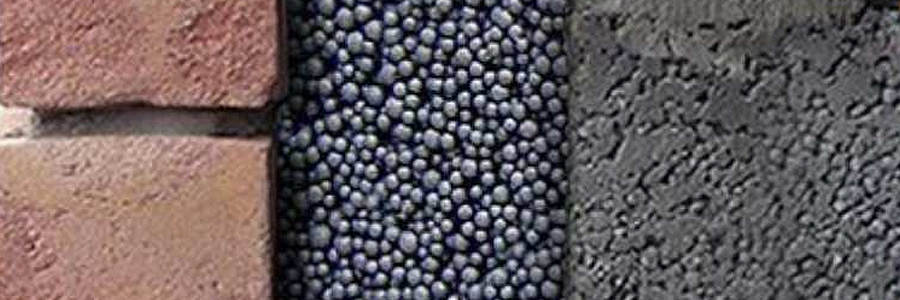
Blown mineral wool: loose fibres injected through small holes. Works in many standard cavities when walls are sound and dry. Can slump if poorly packed or get wet if the cavity takes rain.
Polystyrene beads: free flowing beads with or without a light binder. Good at filling around wall ties and services. If not sealed well beads can escape at gaps and may move if cavities are open at the top.
Urea formaldehyde foam: older installs. Can shrink or crumble with age which leaves voids. Removal is common where failures are confirmed.
Typical failure signs
Damp staining and peeling paint on outside walls often below windows or near corners. Salts may show on plaster. Skirtings may swell and floors feel cold.
Striped thermal pattern on a heat scan with warm and cold bands that match areas where insulation is missing or saturated.
Why insulation fails
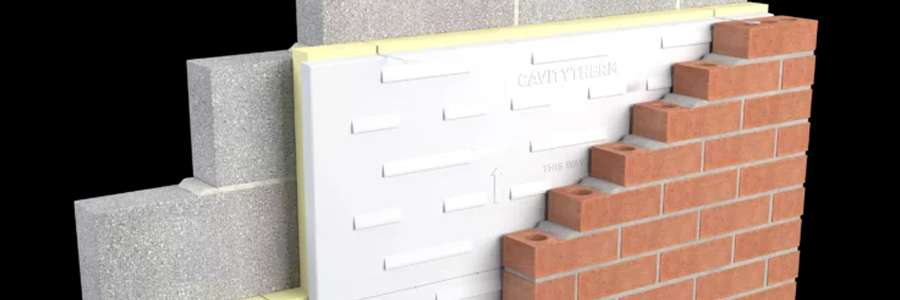
Rain penetration through cracked render, spalled brick faces, or porous pointing. Water crosses the cavity on debris or saturated insulation and reaches the inner leaf.
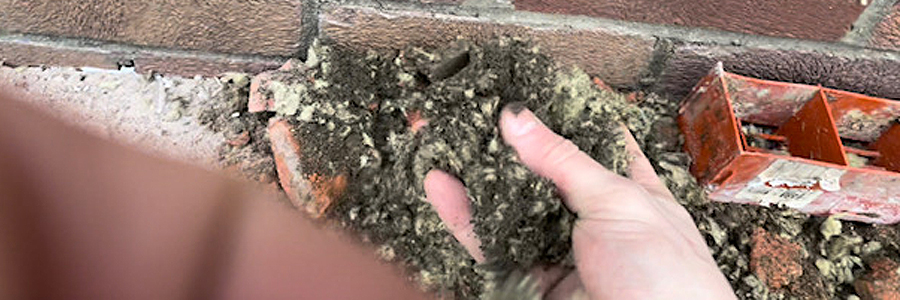
Bridging from rubble in the cavity, snots on ties, or a build up at the base. Add insulation and the bridge now carries moisture inside.
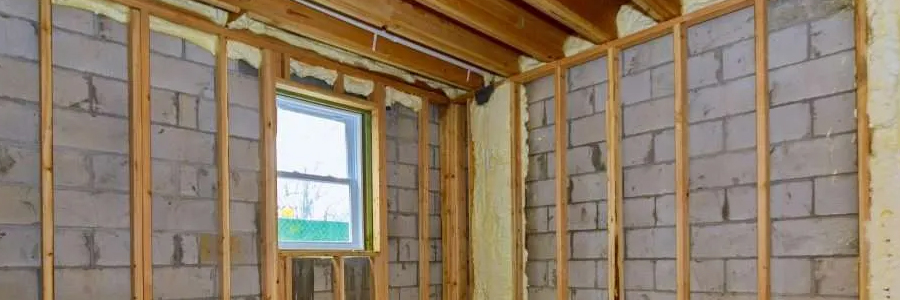
Poor install such as low density packing, missed drill holes, or blocked zones behind services. This leaves cold voids and patchy performance.
Higher risk homes

Coastal and high exposure locations that see strong wind and driven rain. Also walls with narrow cavities or old soft bricks that soak up water.
Properties with cracked render, blocked air bricks, or missing trays at lintels are more likely to suffer once insulation is added.
How to check
Visual survey: check external faces for defects, look for drill patterns that show the product and age of install.
Borescope: small holes let you see the cavity. You can confirm product type, density, moisture and debris.
Moisture and temperature readings: map damp internally and compare with known exposure points. A heat camera on a cold day makes patterns clear.
Fix and remediate
First fix the shell. Repair render and pointing, replace spalled bricks, clear weepholes and air bricks, and add trays where needed. Do not leave defects that keep feeding water into the cavity.
Then decide on removal or retention. Wet or slumped insulation is usually removed with vacuum rigs through new drill holes. Once dry and sound you can consider a fresh install with the right product for the site or leave the cavity clear where exposure stays high.